Thursday, August 1, 2013

"Princess Sophia and the Frog" Kindle Edition - Book review


I am lucky to have kids who loves to read. They will read anything that catches their eyes. My daughter who is 11 thinks she's too old to read this, but her brother who is 7 will eventually convince her to read the book.  

I didn't think my 7 year old boy would read it either, but when I called him he sat right down on my lap and had me reading. He read with me and he sat still. Thought he would get up and say this is for girls mom, but he didn't. He read till the end and he said it was a good book.


As you can see (above) he went to his sisters room and read the book again. He got mad after I took the photo because he said he was busy. LOL!


The book is available on Amazon, by the Author Suzy Liebermann.  This is a great book to read to your kids to show feelings about happiness and friendship. I asked my son how he felt after reading the book and he said he was happy.


Click on the photo above for the link or click HERE.

BOOK DESCRIPTION:

A wonderful fairy tale about friendship and happiness:

"PRINCESS SOPHIA AND THE FROG is about a little princess named Sophia and her new friend the frog, Sophia was bored so the frog convinces her to give him a kiss and dance with him so that together, they can take adventures. This isn't just your typical fairy tale because it's more about friendship and happiness than love. It's a new kind of princess story that takes an old tale and puts a new spin on it. The way it's written is so fun because it rhymes and the words go from normal to big. It's just such a perfect children's book. My little one loves the illustrations and I think that she also really enjoys how colorful it is." (Thank you Marianna!)

On her adventure Sophia learns about feelings. She also learns that she can choose what mood she surrounds herself with, as this will impact her own.
After her return to the castle she realizes that all she needs to be happy is to be surrounded by good friends.


I received one or more of the products mentioned above for free using Tomoson.com. Regardless, I only recommend products or services I use personally and believe will be good for my readers.

Tuesday, July 30, 2013

Chicken skillet dish - Recipe


Hey guys! It's been a really long time since I made some noise in here. I am finally back in the swing. I've been doing the planned menu again for a while, then stopped. This was one of the planned recipe and this is hubby and kids approved. Taste even better the next day.

You will be seeing more of me here since I'm going to be doing some reviews and giveaways.  Yah, who doesn't like giveaways? I do, and I will be sharing some of the goodies with you.

Let's get back to the foodies first. As I was saying, this was pretty good, super easy to make
and quick too. You probably have all the ingredients in your freezer and pantry.

Here's what you need:
  • 1 1/2 cups water
  • 1/4 cup  butter (melted)
  • 1 box stuffing mix ( I used stove top)
  • 6 boneless chicken ( cut in half sideways so it's not too thick)
  • 1 small can condensed cream of chicken
  • 1/3 cup sour cream


What you do:


1. Boil 1 1/2 cup water and add butter. Shut off and mix in the box of  stuffing and mix well.


2. Cook boneless chicken in a large nonstick skillet with butter or spray oil for 5 minutes each side.


3. While cooking the chicken mix the cream of chicken and sour cream and mix well.


4. Pour the cream mixture over chicken and top with the cooked stuffing and cover. 


5. Cook on low heat for another 10 - 15 minutes or until chicken is done. 


** This can also be done in a baking dish. Prepare everything and cook chicken for a couple of minutes on each side. Place on the bottom of the baking dish. Mix the soup and sour cream and pour over chicken. Top with the stuffing and cover with foil. Bake for 35 minutes on 375* F. Uncover and bake for another 5 minutes for a crispier topping. 


Now it's ready to be served and enjoy. Please let me know if you have tried this. I would love to hear from you. Come visit me on FACEBOOK and make sure you say HI :-)


Sunday, April 7, 2013

Biscuit Pizza Ball - Recipe


Winner, winner chicken dinner. I know it's not chicken but it sure is a winner. Saw this on a friends page (Dina) and I thought I would try and see if my Family would love it. AND they did! They actually liked LOVED it! This is actually is on the repeat pile.

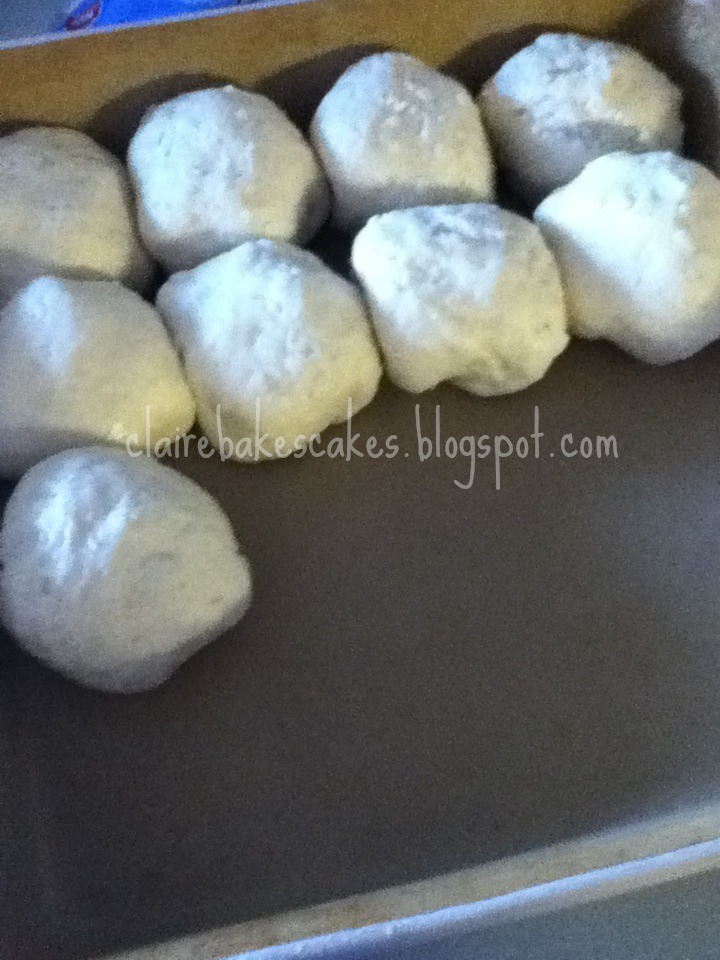
** Note: I apologize for the first 5 photos. They are blurry because I used the ipod and then used the camera after realizing what I've done. Also on her site. The recipe is different. I changed a few things.


Here's what you need:

  • 2 cans Buttermilk Biscuits 
  • Pepperoni slices
  • Block of Colby cheese or any cheese you prefer using
  • 1/4 cup melted butter
  • Parmesan
  • Crushed dried parsley
  • Garlic powder
  • 1 jar pizza sauce
Here's what you do:

1. Cut the block of cheese into however many biscuits you have.
2. Flatten a biscuit out and stack pepperoni and cheese on top. 


3. Gather up the edges of the biscuit. 


 4. Pinch the biscuit to close. 


5.  Line up the rolls in a greased pan. I used a 10x10 inch pan. Place pinched side down on the pan and brush the top with the melted butter.


6. Sprinkle with parmesan, Italian seasoning and garlic powder. Bake at 425°F for 20-25 minutes or until roll is cook through. I took it out at 18 minutes and the middle was still doughy and wasn't cook.


7.  Warm up the pizza sauce and use for dipping.


8. Enjoy the goodness!


Thank you for stopping by!

Friday, February 15, 2013

Shhh! Red Lobster Cheddar Biscuit (Copy cat) Recipe


I look forward to the biscuit when we go to Red Lobster. I love, love, love the taste and the garlic taste to it. BUT, I don't really care for the grease and the salty-ness of it. So, I scoured  the internet and look for a decent recipe that would taste, but not have the grease and overly salty. I believe I have found it and I am more than happy to share it with you.

Made it for dinner the other night with Velveeta cheeseburger mac, yum!

Here's what you need:

BISCUIT
  • 2 1/2 cup Bisquick mix 
  • 6 tbsp. cold butter, cut up in cubes (use the stick)
  • 1 cup cold milk
  • 3/4 tsp. McCormick garlic powder (NOT GARLIC SALT) * I might try to add fresh grated garlic next time
  • 1 cup Kraft sharp cheddar cheese
  • 1 tbsp. dried and *crushed McCormick parsley
BRUSH ON TOP (after baking) 
  • 4 tbsp. melted butter
  • 1/2 tsp. dried and *crushed McCormick parley
  • 1/2 tsp. McCormick garlic powder
Mix all these 3 ingredients and place in microwave for 15 seconds interval until butter is melted. Do this when the biscuit is almost done baking.

What to do:
  1. Preheat oven to 400F


2. Mix Bisquick and cold butter in a medium bowl using a pasty cutter or fork. DON'T over mix. Leave chunks of butter (think of it when making apple crumble. LOL)


3. Add cheddar cheese, garlic powder and parsley. Mix well.


4. Add milk and stir well, but don't overmix.


5. Drop a spoonful on a parchment lined cookie sheet.


6. Bake for 13-15 minutes or until top is crispy brown.


7. Take out and brush the biscuit with melted butter and serve while it's still hot.


*NOTE*
Crush the dried parsley between your hands to release the full flavor and mix it in with the batter and the melter butter. 


Wednesday, February 13, 2013

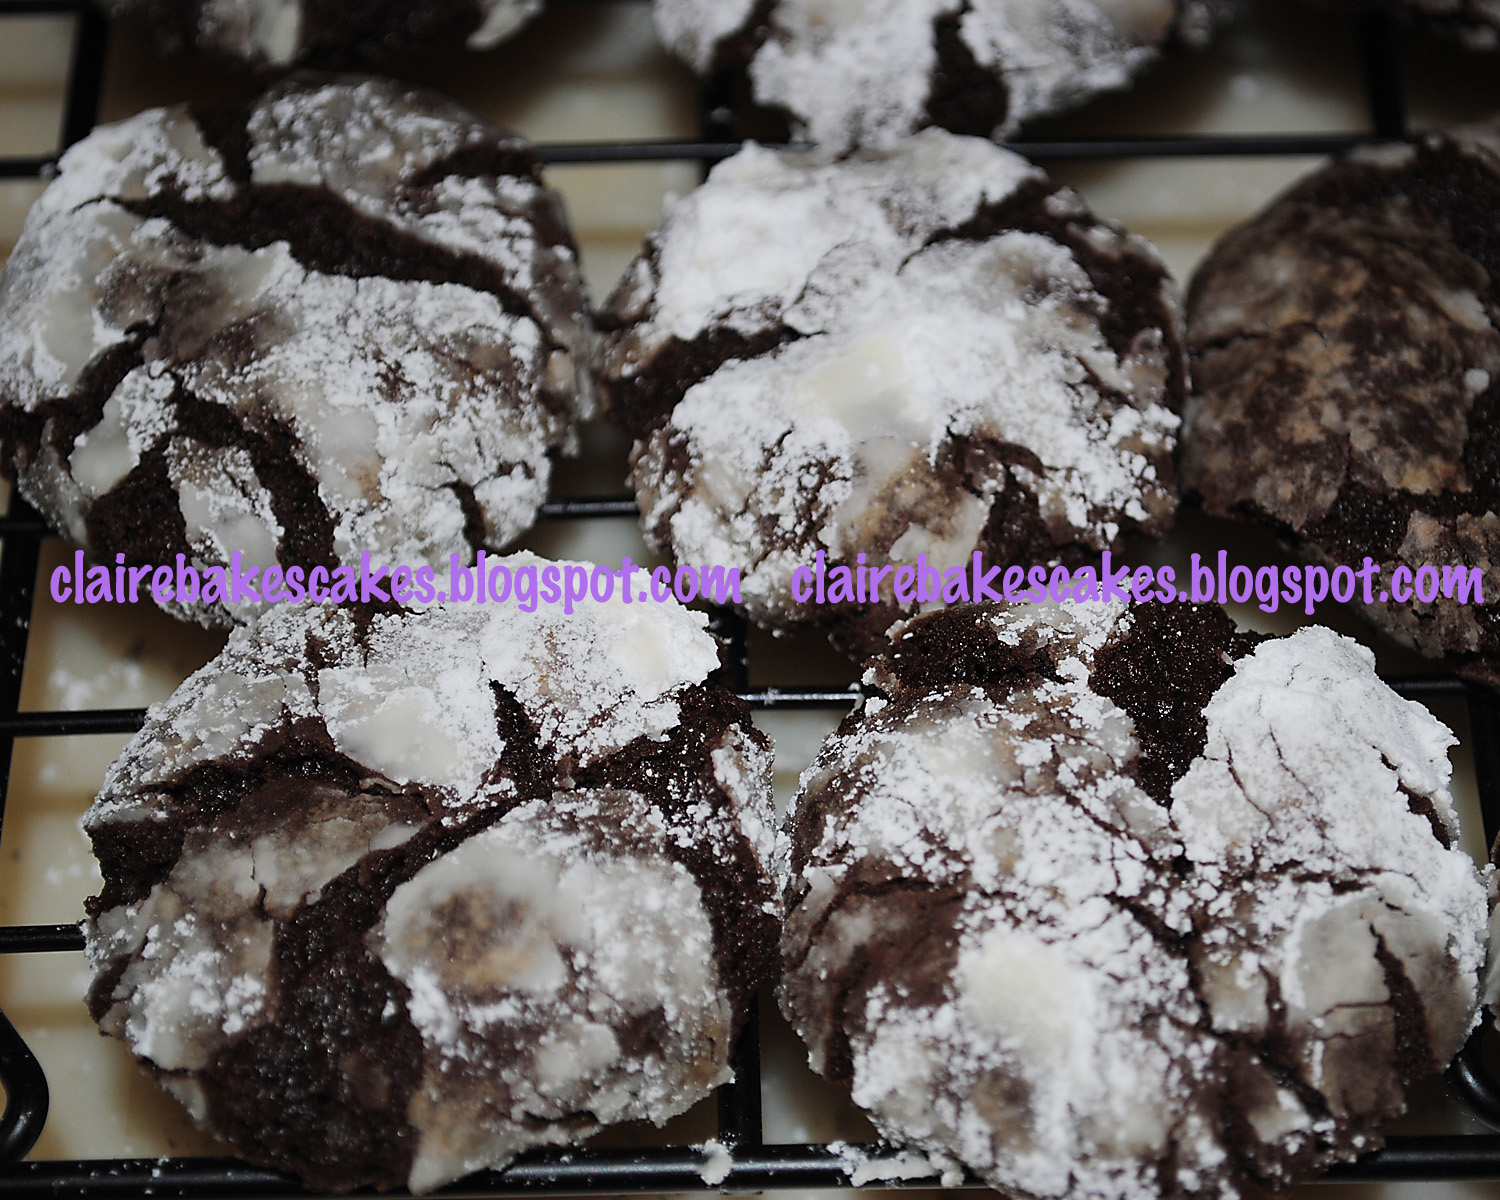
Chocolate Coffee Cookies - RECIPE

 
Chocolate, chocolate, chocolate..... I can eat chocolate whenever, wherever and forever. Milk chocolate, Dark chocolate, semi sweet chocolate, white chocolate? Which on do you like? Do you have a favorite?

This cookie is yummy and it has a perfect flavor of coffee. Not too strong, just right.

Here's what you need:

  • 1/2 cup flour
  • 1/2 cup coco powder
  • 2 tbsp. instant coffee
  • 1 tsp. baking powder
  • 1/8 tsp. salt
~~~~~~~~
  • 4 tbsp. butter
  • 2/3 cup powdered sugar
  • 1 large egg
~~~~~~~~~
  • 4 oz. Baker's chocolate square (dark, semi sweet or milk chocolate) melted / cooled
  • 1 tbsp. milk


What to do:
  1. Sift dry ingredients.
  2. Beat wet ingredients well.
  3. Add milk and dry ingredients and mix well with spatula.
  4. Place in saran wrap (45 minutes in the freezer) At this point I flatten it into the saran wrap to make it 1 inch thick so it's easier for me to cut later.
  5. Take out of the freezer and cut them into 1 inch square and roll into a ball. Roll into the confectioner sugar.
  6. Place in parchment lined cookie tray and bake on 350F for 11-13 minutes and cool for 2 minutes before transferring to cooling rack.


Thanks for visiting!!! Hope you have a Happy valentines Day!


Share Away

You might also like

Related Posts with Thumbnails