

SHOUTOUT to all the shorties out there. Woop Woop!
The reason why I hemmed 4 pants today was when my daughter came out of her room and she had this pants on and it looked like she had flippers / swim fins on. Yup! She looked like she was ready to go deep sea diving or something. So I told her to go change and I will fix her pants. She then gave me that, you better fix that today so I can wear it tomorrow instead look.
Aaah pre-teen.
Anyway, I had to use google and looked around for the easiest way to hem kids pants and I ended up at REFASHIONMAMA's site. This is her DIY for hemming jeans and I thank you for the tutorial.
So here's what you do. Oh, before you do this. You might want to grab all the jeans you have that are long so you can do this all at ones. It took me less than 30 minutes to do 4 of my daughter's pants.

1. Measure where you want your pants to hit. Remember, if you like to wear heels to add extra on the bottom or you will end up with a capri. Which are pretty nice too. LOL! I needed to take 3 1/2 inches off. I measured it before I made her change. ** Yah I know it says 4 inches but you're supposed to measure above the hem line.

2. Then you divide it in half (again, measure from above hem line and not the bottom of the hem) I wasn't paying attention with the photo and I apologize. So in half and pin all the way around so that darn thing won't move on you. You really don't want to go out with a lopsided pants.

3. My sewing machine has one of those things in the middle, so when you have sleeves or for say jeans to sew you can just take it out and off you go. Pretty neat to me :-)

4. Make sure you pay attention to where your pins are and that your stitching lines match up. Now you start sewing.

5. Sew where the original hem is and just follow along until you get to the other side. Just make sure you backstitch in the end. Then you're pretty much done at this point, if you want.

6. At this point you can either cut the extra off or leave it just in case your kid has a growth spurt in the next couple of months.

7. Now you can turn the right side out and if you have an OCD like me you take your iron, even it out and press it flat.

8. See, all done :-)
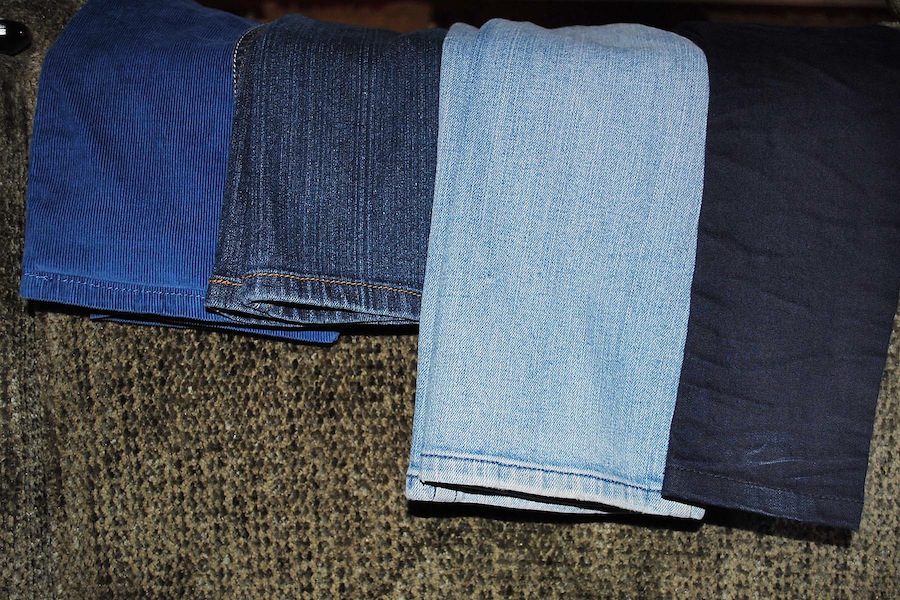
The other 2 that needed to be hemmed.

This one I actually chopped the bottom part. I might need to get the serger out so it won't fray.
Thanks for stopping by. Hope this helped you out a bit. How about you? Do you buy jeans that are too long and end up folding them? UGH! I hate that.

No comments:
Post a Comment